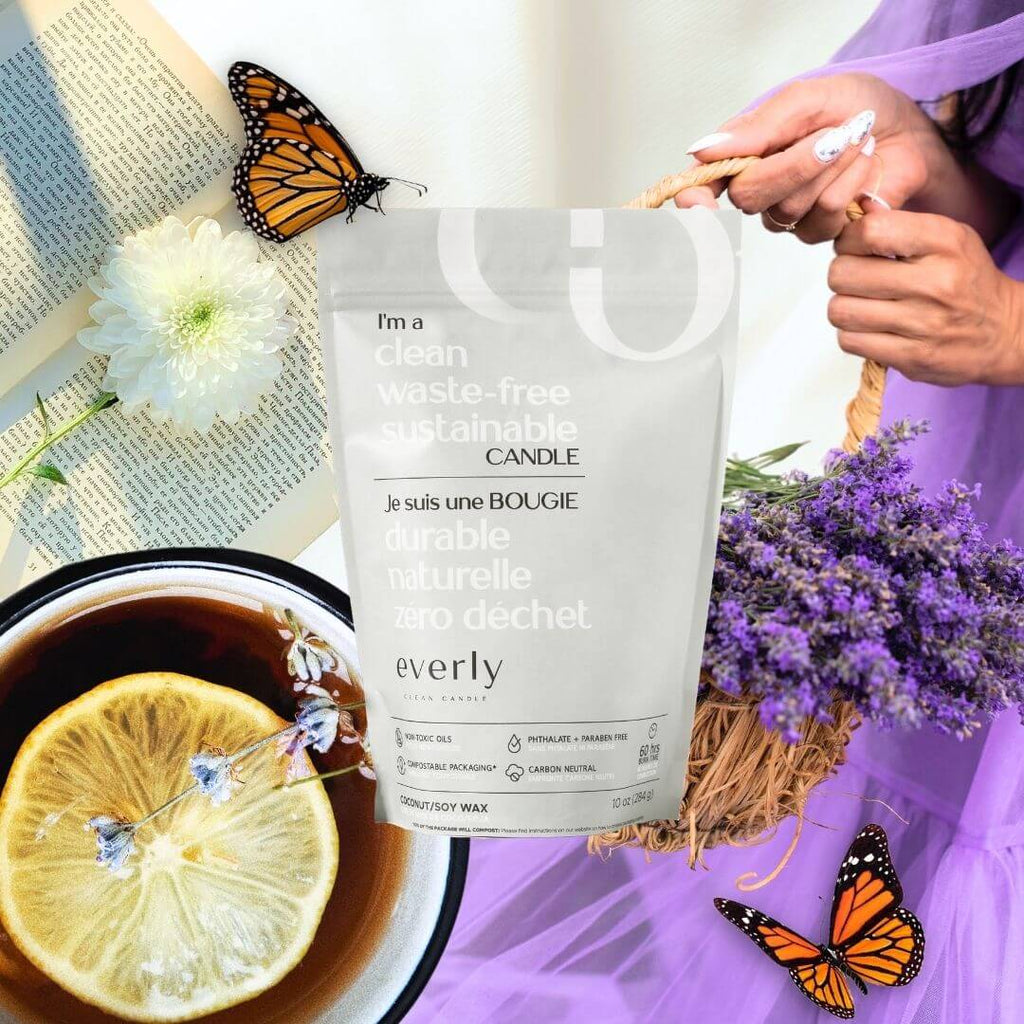
Candle Troubleshooting 101 (Tips, Tricks, + More)

Whether you’re new to the world of candles, or you’re a seasoned pro - you’re bound to run into some unfortunate wax mishaps and wick troubles! From the dooming tunneling effect, to clumpy wax, we’ve compiled some of the best tried-and-true methods for fixing the most common candle issues.
Tunneling
Have you ever grabbed your matches and got ready to kick back and relax with aromas of sage and palo santo, only to realize your favourite candle has grown the dreaded wax ring on the edge of your jar?? Don’t worry - you’re no less of a candle connoisseur!
There are two main reasons why candles tunnel: candle memory and improper wick size. Yes, you read that right - candles actually have memories. When you burn a candle for the first time, the wax sets softer than brand new wax. So, the next time you light your candle, the wax that has already melted on the first burn will melt a lot faster than the wax that hasn’t. This is why the wax builds up on the outside of your jar as you continue to burn it!

Another culprit could be your wick. If your wick is too small, it won’t create a flame large enough to burn all the wax in your vessel. This means that every time you burn your candle, it will only melt as far as the wick can burn, which causes tunneling!
So, how do you make sure your future candles are safe from the wax ring of doom?? Here’s how:
- Before you light your brand new candle, make sure you have enough time (roughly 3-4 hours) to ensure that the wax melts all the way to the edge to prevent your candle from having a memory
- Make sure your wick is the right size. When refilling a vessel with our refill kits, use a vessel that is 4” x 3” wide to ensure you get the best burn!
- Trim your wick after every use. Trimming your wick to ¼” - ⅛” before you light it is a great way to ensure that your candle is the proper size for your vessel - which will reduce the chances of it tunneling!
- Don’t light your candle outside or too close to your windows. When your wax is cold, it’s harder for the wick to get hot enough to melt the wax easily! Make sure to not light it outside in the winter or leave it too close to a cold window.
If you’re refilling one of your vessels with our refill kits, the wax takes 2-3 hours to set, however, we recommend waiting a full 24 hours before lighting to ensure you get the cleanest burn and to prevent tunneling!
If your beloved candle has already tunneled, try the tinfoil method to restore it back to its former glory:
- Grab your tunneled candle and wrap tinfoil around the edge of your candle jar
- Fold the tinfoil over the top of the candle jar, but make sure to leave a hole in the middle so your wick can still get oxygen
- Light your candle and let it burn for 3-4 hours, or until the wax buildup on the edge of the jar has melted
- Enjoy your amazing un-tunneled candle
Uneven Wax
If you’re new to soy wax candles, you may be shocked when you see bumps or holes on the top of your candle for the first time! This happens because of air bubbles that get trapped in the wax when pouring, and because of the natural compounds in the wax.

So, if you’ve just excitedly made a candle from your refill kit, only to find that the top is a little uneven - there is no need to worry! There are a few ways to make your candle look camera-ready.
- After the wax has set, use a heat gun, torch, or even a hair dryer to melt the top layer of wax. This should release any air bubbles trapped in the wax and give it a smooth finish - after the top layer sets, you’re ready to re-light!
- You can also wait until your candle has set before pouring another thin layer of wax for the top. It’s recommended to pour about ⅛” of wax for the top layer. Then, wait for the top layer to set, and you have the perfect candle!
Wicks
If you’re having any other issues with your candle, there’s a good chance your wick is to blame!
First things first - you should be trimming your wick before each light. I know, I know, this one can feel like a bit of a hassle if you’re a candle-a-day-keeps-the-stress-away kind of person, but trust us, it’s worth it!
Trimming your wick to ¼”-⅛” before you light it will allow your flame have a clean and bright burn, which will prevent soot from settling on the sides of your vessel and surfaces in your home. Additionally, trimming the wick can make your candle last even longer, because larger flames will melt your wax more quickly than a steady, smaller flame!
Another wick issue that may be giving you grief is an off-centered wick. An off-centered wick can cause a whole load of issues like tunneling, soot residue on your vessel, and even cracking the side of your vessel - especially if it’s glass.
To prevent this, it’s important to make sure you have centered the wick before pouring the wax. Press and hold the wick at the bottom of your vessel for a few seconds to ensure it won’t move when pouring your wax. Then, secure it with the wick holder in order to keep it centered!
If your wick has moved off-center as you were burning it, extinguish the flame and use tweezers to gently push your wick closer to the center. Then, allow the wax to harden, and your wick should remain in the center. If your wick gradually moves off-center again, repeat this process!
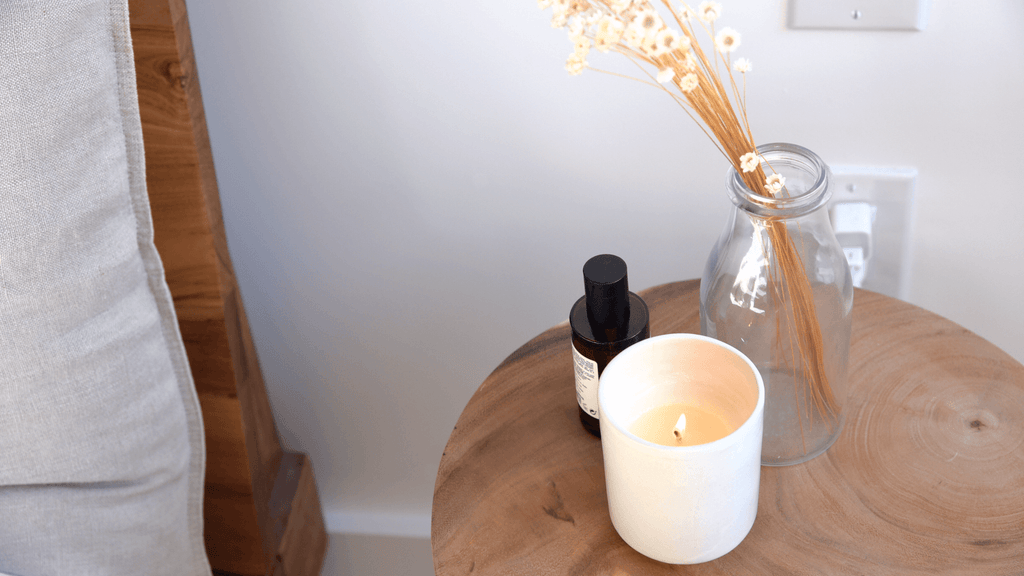
Choosing Your Vessel
We recommend choosing a tumbler, cup, or jar that can withstand heat and won’t leak, crack or catch fire. The best materials to look out for when choosing your vessel are ceramic, glass, sealed metal tins, and enamel. Not all glass is heat safe, but use the “coffee test” to determine if you can use a glass vessel - if you would be worried pouring hot coffee into it, it’s probably not heat safe.
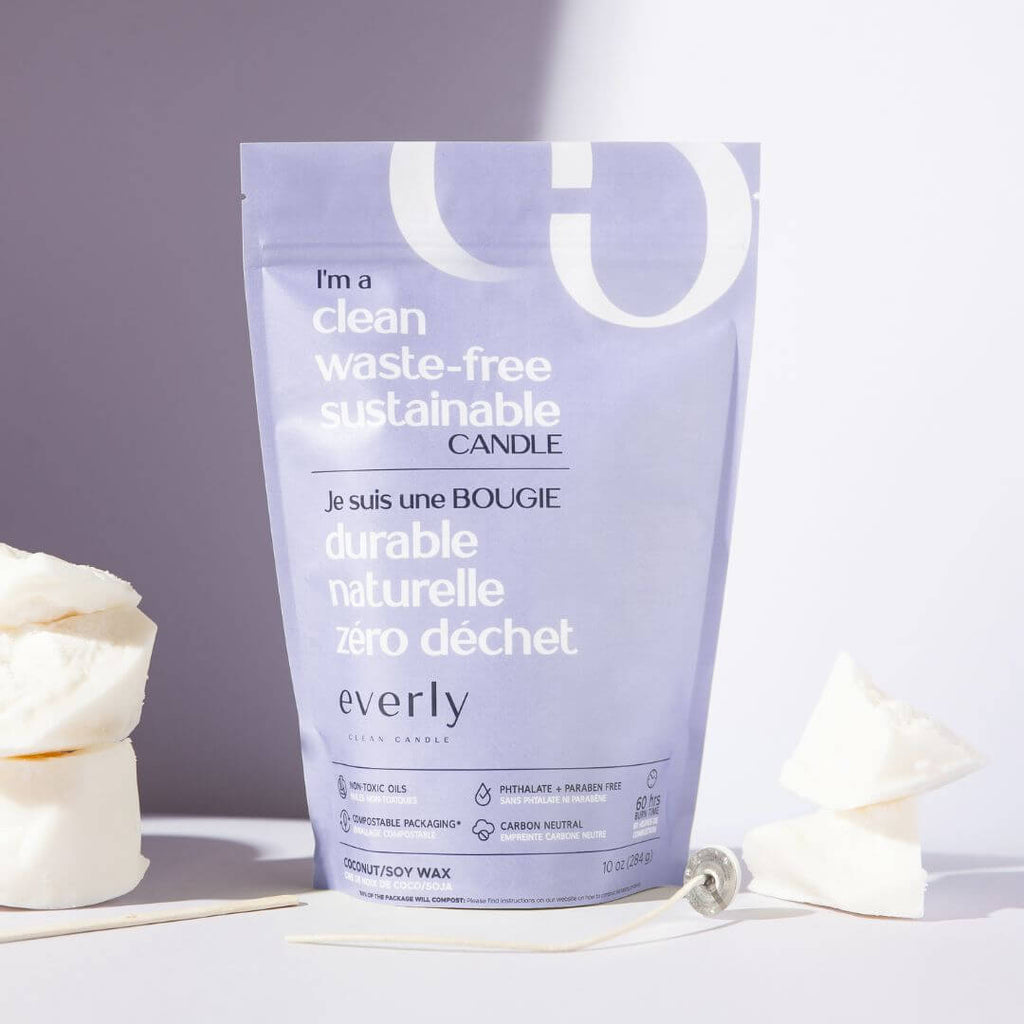
Our refill kits are made to fill a 10oz jar, and they burn best when in a vessel that’s approximately 4” x 3” wide. We want to encourage you to upcycle any empty candle jar or vessel that you have at home to reduce waste!

However, if you don't have a vessel at home that you'd like to upcycle, you can start with our Eternal Vessel, which is the perfect size (and companion) to get you started on your Everly journey.
Now that you’ve navigated the do’s and don’t of candling - you’re ready to venture out and create your own candle! We have created the perfect kit to get you started on your Everly journey - the Santo Starter Bundle.

The Santo Starter Bundle has everything you need to make the perfect candle! It includes the locally-handmade ceramic Eternal Vessel, a wick + wick holder, and soy-coconut wax, premixed with our Santo scent. Santo combines the refreshing, woodsy scent of palo santo with earthy aromas of sage to bring you the perfect scent for rainy days spent inside reading!